
This project stalled for a bit, mainly because I grew tired of copying the Ravenloft painting and after I cut the base down I decided that I didn't like the originally flooring I put on it. I knew I'd need to rebuild the base, but didn't feel up to working on it, so I distracted myself with Space Hulk and Super Dungeon Explore until I was ready to start up again. But now, with some 1/2" MDF in hand it was time to work on this again, and rebuild the new base!
 From letting the old base sit on the shelf with the minis on top of it, I came to the realization that the flooring was too dark and too busy. The two rogues were getting lost in the flooring and it just wasn't working for me.
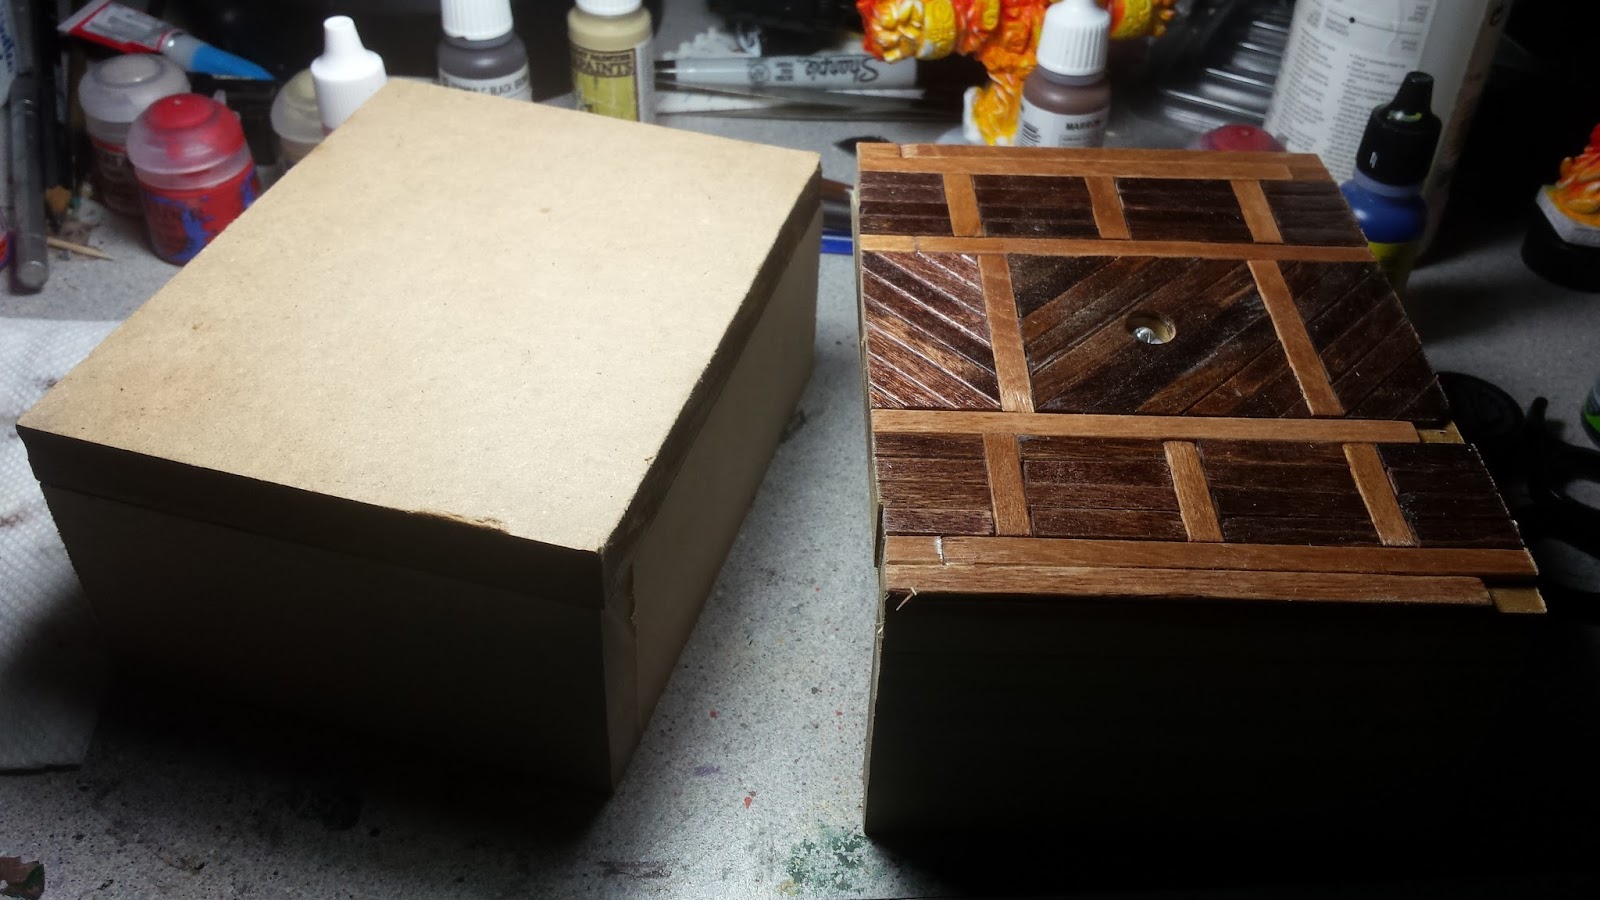
So, after finishing the SDE expansion, Caverns of Roxor, I decided it was as good a time as any to rework it all. This time, instead of a fancy floor design, I kept it to a simple plank floor. Once this was all glued on, filled any gaps in the sides and the seam between the planks and sides with wood filler and sanded it all down.
 Once the base was built, I started playing with the LED candle lights and began doing tests with them. I've always been unhappy with the light output coming through the cyclop's eye and was searching for ways to fix it. So I disassembled a
 pair of my color changing tea lights and started playing.
After about an hour of testing my switch and adding in a 2nd LED to it and testing it with the Cyclops Bust, I was ready to get it installed. The double LED worked perfectly and changes color in time with each other nicely. Plus with double the light output, I can easily see the light shining through the gemstone.

 I soldered the two LEDs together and mounted the one side back to the battery terminal. Then, I soldered a length of wire to the other side of the LED and another to the original switch. I left the switch in place because I wasn't sure how to make it work otherwise and didn't want to accidentally botch it up. These were then connected to my exterior switch via a set of terminals.
Both LEDs fit nicely into the hole I drilled and are kept in place with hot glue. The battery pack is also hot glued into one of the corners of the box and it shouldn't let loose anytime soon.
I also picked up a small can of black paint for the sides of the base. I went with some cheap Rustoleum satin black and it will need a few coats before it's done. The MDF likes to soak up paint, so far I've got 2 coats on there and may need to do another before I'm happy with it.
