

The army progress chart is filling up and the forcing is coming together nicely. This week, I finished another robo and got started on the next one in the batch.
We're down to two Kastelan Robots needed for Adepticon, let's take a look.
The Rusty Robot
| The white armored robo is all finished and ready for battle! He was a challenge, start to finish, but I really like the end result. For the rusty areas, I first sponged the model with Leadbelcher. This gave me a guide to use for areas that could possibly be rusted. In order to keep the glass for the head clean, I covered it with blue tac and heavily sponged the side of the head that features the cracking. Once all the Leadbelcher was down, I started splotching him with thinned Rhinox Hide. After the Rhinox Hide, I used some thinned Mournfang Brown and splotched it over top of the Rhinox Hide, while leaving some of the darker brown showing underneath, giving the illusion of varying degrees of rust. Finally I added Typhus Corrosion to the recesses and any areas where I wanted really horrible pitting. Once that was dry I started drybrushing him with Ryza Rust to pick out the texture of the Typhus Corrosion and then dabbed it with Leadbelcher to give it more surface texture and visual interest. The replacement leg was painted dark purple. For this I started with a base coat of black and glazes of Naggaroth Night until I was happy with coverage. This was then covered by a wash of Nuln Oil and then more Naggaroth Night followed by Genestealer Purple. The effect came out really nice and it looks really shiny! It was almost a shame to chip and weather it. That's pretty much it. After the armor was done the metallics and weapons were fairly quick. He was sealed and then dusted with Secret Weapon weathering pigments and has taken his place in the army. I can't wait to get him on the table. | 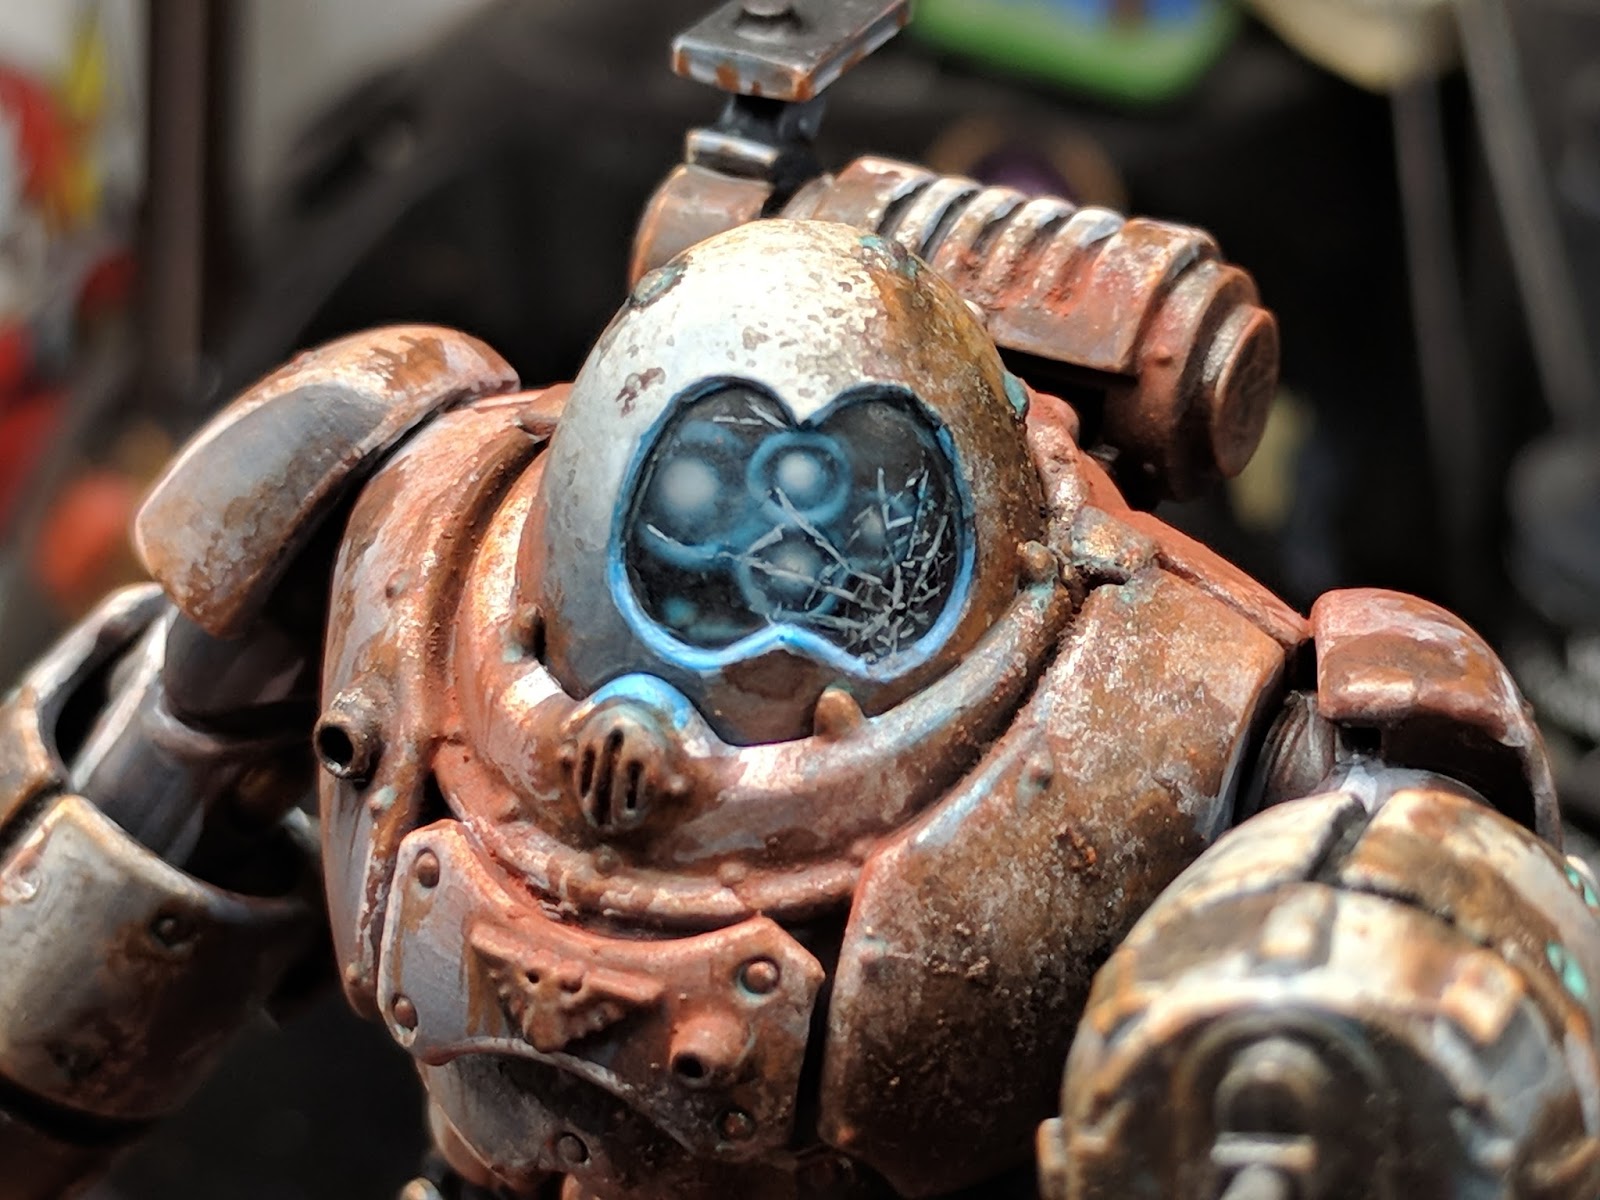   |
OD Green Robot
| The next robo is an army themed one. I started him on Tuesday night and knocked out all of the green armor panels and his markings. For the armor panels I decided to try something different. The steps looked something like this. Base coat - Castellan Green Wash - Agrax Earthshade Glaze - Castellan Green, until I liked coverage in the highlighted areas. Wash - Agrax Earthshade Glaze - Castellan Green Wash - Athonian Camoshade Glaze - Castellan Green Glaze and edge highlight - Warboss Green Edge highlight - Nurgling Green Glaze - Riekland Fleshshade While working on these colors it started getting less and less OD green and I wasn't particularly happy with that. Luckily, once I added the Riekland Fleshshade to it as a final layer it dialed down the brighter greens and brought it back in line with what I was looking for. The white stripe and star were painted with Vallejo Neutral Grey, Pallid Wych Flesh and then White. I wanted to paint the star with a circle around it, but in the end decided against it. I'm pretty pleased with it as it is and it will look better this way once its weathered. That it for him so far though. Next up is weathering and adding battle damage. Then its on to the replacement legs and making the base. That's tonight's task. |    |
Thanks for reading!